The dryer vent hose plays a crucial role in keeping your dryer functioning safely and efficiently. This flexible tube works hard, venting hot, moist air from your dryer to the outside. When it’s in good shape, you barely notice it’s there. But when it gets clogged, torn, or improperly installed, it can wreak havoc.
If your laundry routine has hit a snag, your dryer vent hose might be the culprit.
The good news? Dryer vent repair is often easier than you think. In this guide, we’ll walk you through common dryer vent hose problems, how to fix them, and tips to keep your dryer running smoothly for years to come.
Supplies You’ll Need for Dryer Vent Repair
- Foil Duct Tape
- Screwdriver
- New Dryer Hose
- Scissors
- Gloves
- Safety Glasses
Steps to Follow When Repairing a Dryer Vent Hose
Step 1. Unplug Your Dryer!
Before you dive headfirst into repairs, make sure to unplug your dryer first! This step is probably the most important since you don’t want to be electrocuted or damage the cord in the process.
Step 2. Pull Your Dryer Back
Start by gently pulling your dryer away from the wall, giving yourself enough room to move comfortably behind it. Depending on your setup, this might require a bit of maneuvering, especially if you’re working in a tight space.
Once you’re in position, it’s time to disconnect the old vent hose. Look for clamps or screws securing the hose to the dryer and the vent outlet. Some connections may only need a firm tug, while others require loosening clamps or screws first.
Also Read: How Dryer Vent Clogs Can Affect Your Dryer’s Performance
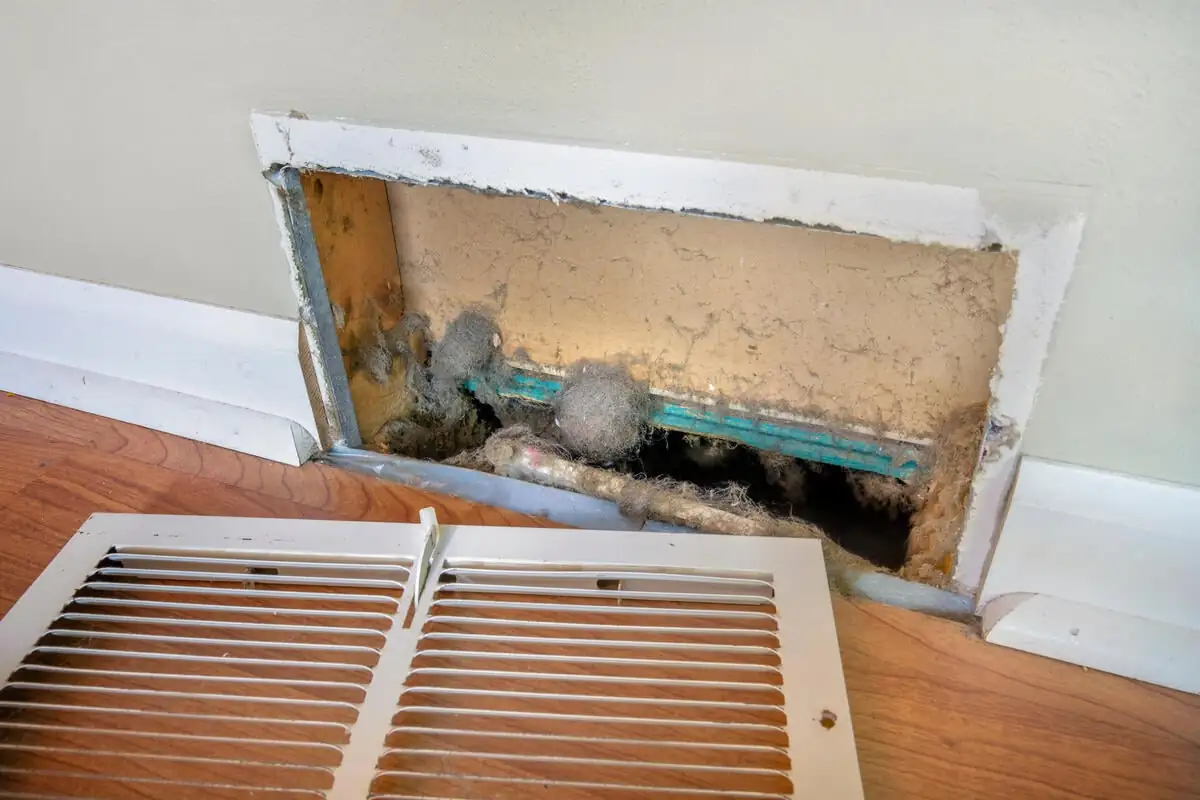
Step 3. Inspect for Damage
Take a moment to carefully inspect the old vent hose before moving forward. Run your hands along its entire length and look closely for any signs of damage.
If you notice any issues, jot them down so you’re fully prepared to address them. Catching these problems early can save you from dealing with dryer inefficiencies or, worse, potential fire hazards down the line.
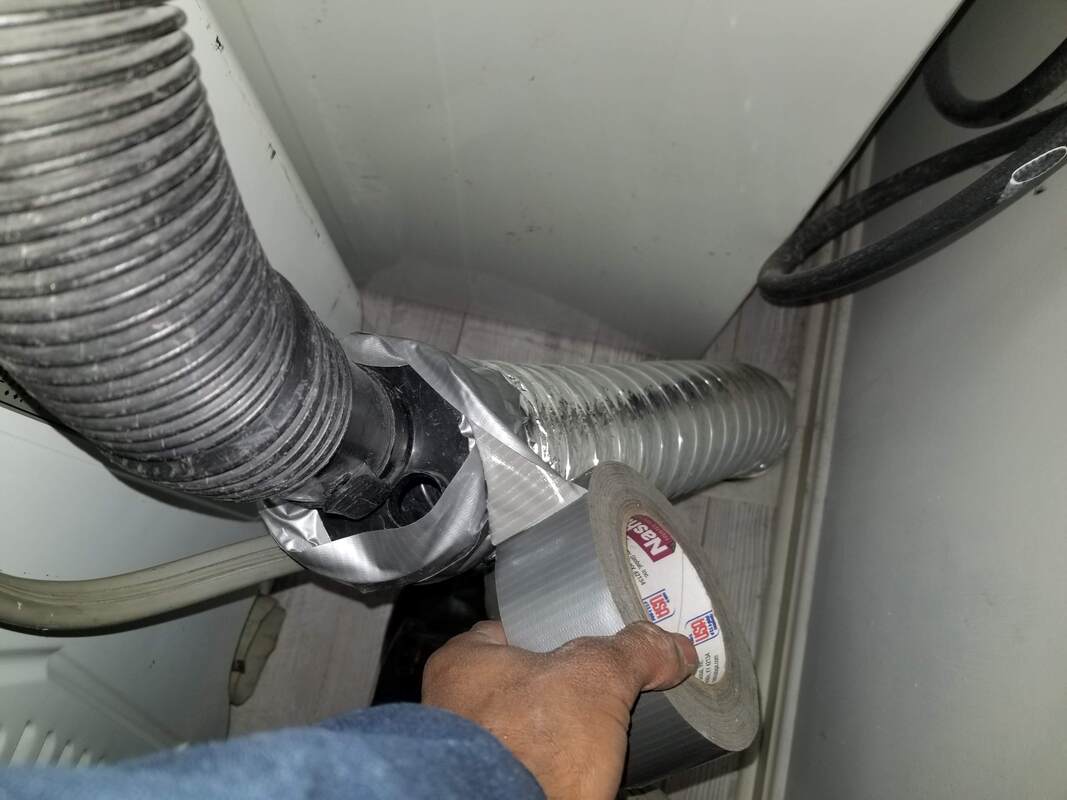
Step 4. Repair the Crushed Dryer Vent Hose
If the vent is crushed, you can usually fix it by reaching inside and gently bending it back into shape. For small rips or holes, use aluminum tape to patch the area securely. Avoid using duct tape since it’s not designed for the high heat generated by a dryer and may fail over time.
Step 5. Reattach the Repaired Vent Hose
Secure the new or repaired vent hose by carefully sliding it onto the dryer’s vent outlet. Make sure the connection is snug and properly aligned to prevent any air leaks. Use a clamp or screws, depending on your setup, to tightly fasten the hose in place.
Step 6. Plug in and Test Your Dryer
With the vent hose securely attached, plug your dryer back into the power outlet. Turn it on and let it run for a few minutes.
When to Call in a Professional for Dryer Vent Repair
While some dryer vent repairs are simple enough to handle on your own, some issues may require a professional touch. If you notice any of these signs, it’s best to call pros:
- Your dryer isn’t drying clothes properly.
- You smell something burning near your dryer.
- You see excessive lint around the vent.
- Your hose keeps coming loose or disconnected.
At Delta Clean Air, we are a leading air duct cleaning company specialize in dryer vent repair and maintenance, so if you’re having trouble with your dryer vent hose, we’re here to help! Our team of experts can inspect, repair, or replace your dryer vent hose, ensuring everything is in top condition and preventing potential fire hazards.
Don’t wait for problems to escalate! Reach out to us today and get your dryer running smoothly again!