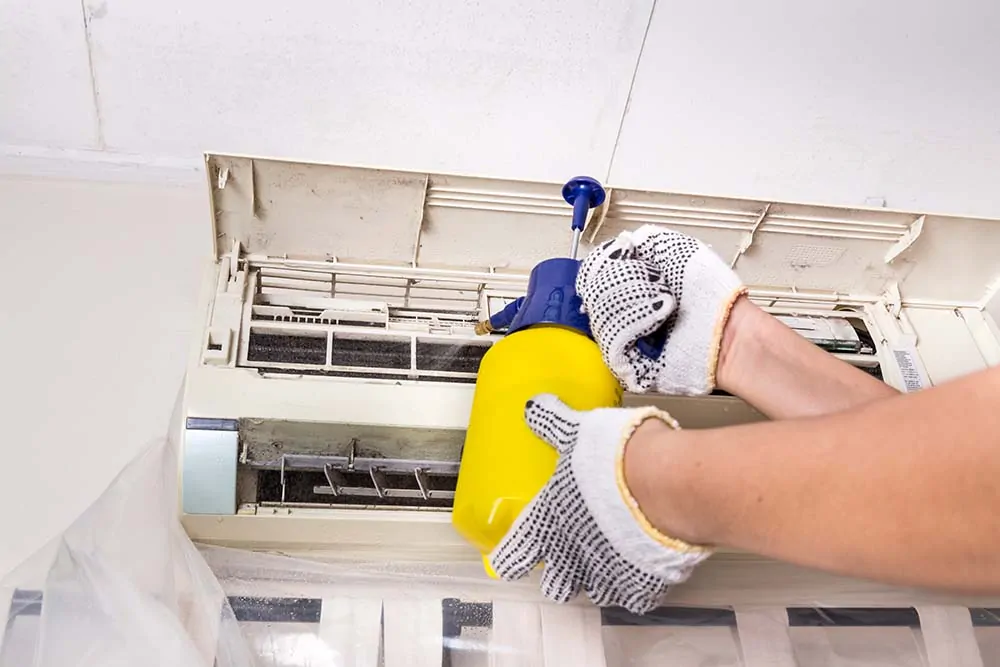
Alright, let’s talk about something most homeowners forget until the dust piles up. Yes, I am talking about air duct cleaning. I believe you are one of those who care about your home and health, that’s why you have already taken the smart step by scheduling it. Clean ducts help your system breathe easier, improve air quality, and cut energy bills. But here’s the thing: the cleaning crew can’t do their best work if your home isn’t ready.
So, how do you prepare? You go room by room. I’ll walk you through every area, tell you exactly what to move, what to protect, and what to expect. It’s simple, but the details matter. Let’s get started.
Why Is It Important to Prepare Your Home Before Duct Cleaning?
Duct cleaning isn’t like a quick vacuum job. It’s a whole-home project. Big hoses, power tools, and technicians move through every space that connects to your vents. A little prep makes the whole job smoother.
When you prepare ahead:
- The technicians work fast and cleanly.
- Your belongings stay safe.
- You reduce dust spreading through the house.
- You avoid last-minute confusion when the crew shows up.
It’s about respect for your space and their time. You want them to focus on cleaning the ducts, not dodging furniture or picking up toys.
Step 1: Entryway and Hallways – Clear the Way
The crew will enter with equipment, vacuum hoses, and toolboxes. The first thing they need is space.
Clear the path
Walk from your front door to your furnace or main air unit. Move anything that blocks that path, such as shoes, baskets, chairs, boxes, or rugs. Keep a clear walkway so the team can roll their gear without bumping into walls or decor.
Move decorations and plants
Hallways often hold small tables, mirrors, and plants. Shift them aside. Even a small bump can crack a vase or knock a frame down.
Protect valuables
If you have expensive wall art, fragile lamps, or antique furniture near that path, cover or relocate them temporarily.
Secure pets and children
The process gets noisy. Doors stay open for airflow and movement. Keep pets in a separate room or outside. Children should stay away from work areas. You’ll avoid accidents and stress for everyone.
Step 2: Living Room and Common Areas – Open Up the Space
The living room is usually where most air vents and returns sit. The cleaner will spend a lot of time here, so give them space to move.
Move furniture away from vents
Pull sofas, chairs, and tables at least two feet from each vent or register. This helps the technician reach the covers easily. Don’t worry, you’ll put everything back in place later.
Vacuum or dust around vents
Take a minute to wipe or vacuum the area around each vent. Removing surface dust keeps it from getting sucked back into the system during cleaning.
Unplug or cover electronics
Your TV, sound system, or gaming consoles might sit near a return vent. Turn them off and cover them with a soft cloth or towel. You’ll protect them from any stray dust that gets released during the process.
Remove fragile decor
Move the fragile decor items to a safe shelf. The technician will use high-pressure hoses. One quick vibration can send something delicate tumbling.
Also read: Control Mold Growth in Your HVAC System by Air Duct Cleaning
Step 3: Kitchen and Dining Area – Control the Clutter
The kitchen collects dust and grease, which can stick near vents. You’ll want to give this space extra attention.
Uncover floor or wall vents
Look under cabinets, along baseboards, or behind trash bins. Make sure nothing covers the vents. If there’s a return near your pantry or refrigerator, move items away to give clear access.
Tidy up counters
Cleaning ducts stirs dust. Cover any open food or utensils. Store bread, fruits, or exposed dishes in closed cabinets. Wipe surfaces before and after the crew finishes.
Slide dining chairs back
If there’s a floor vent under your dining table, pull the table and chairs away. Give the team room to clean properly.
Turn off cooking appliances
If the crew needs to access ducts behind your stove or oven area, make sure all appliances are cool and turned off. Safety first.
Step 4: Bedrooms – Make Space and Secure Personal Items
Bedrooms often have both supply and return vents, usually near the floor or under windows. Since these are personal spaces, preparation here is key.
Move furniture away from vents
Slide beds, dressers, or nightstands away from vents and walls. Leave a clear two-foot space around each vent. If furniture is heavy, ask for help before the cleaning day so you’re not rushed later.
Clear floors
Toys, shoes, blankets, or laundry piles block access. Keep floors tidy so technicians can move quickly between vents.
Protect personal belongings
Jewelry boxes, laptops, or sentimental keepsakes should be moved to another room. Duct cleaning stirs up air, and fine dust can land on everything nearby.
Plan around nap times
If you have kids, book the cleaning during school hours or early in the morning. The machines are loud. Better to plan ahead than deal with cranky, half-awake toddlers.
Step 5: Bathrooms and Utility Rooms – Don’t Skip the Small Spaces
Bathrooms and utility rooms might seem too small to matter, but vents there connect to your main duct system.
Remove rugs and baskets
Move bath rugs, hampers, and towel stands away from vents. These items trap moisture and dust that could blow back into your system.
Clear space around the furnace or air handler
In your utility room, make sure nothing blocks access to the furnace or main air unit. Leave at least a four-foot clearance around it. Technicians need space to open panels, attach equipment, and inspect filters.
Seal chemicals and cleaning products
If you store cleaning supplies, paints, or chemicals in this room, tighten their lids. Dust movement during cleaning could stir odors or fumes.
Ventilate afterward
Once the cleaning ends, open the bathroom or utility room door. Let the air settle for a few minutes before using the space again.
Step 6: Home Office and Spare Rooms – Tidy and Protect Tech
Offices and spare rooms often get neglected, but they still collect dust inside vents.
Clear the desk area
Move chairs and small furniture away from wall vents. Cover your computer, printer, and other devices with a sheet or towel. Dust can sneak into keyboards and fans easily.
Remove sensitive documents
If you keep files or paperwork near floor vents, move them away. The air pressure from cleaning hoses can scatter papers all over the room.
Check guest rooms
Unused rooms tend to have dusty vents. Open doors and check for furniture blocking air returns. The crew will clean every connected duct, even in rooms you rarely enter.
Also read: Duct Cleaning for Schools and Universities
Step 7: Basement or Attic – Major Access Zones
These spaces usually hold the core of your duct system. Technicians will spend time here inspecting the main lines.
Clear storage boxes
Basements and attics often become storage zones. Move boxes or bins away from duct lines, the furnace, or the air handler. Create wide walking paths for the crew.
Sweep before cleaning day
Dust piles up in these areas fast. A quick sweep or vacuum before the appointment helps prevent debris from flying around during the job.
Protect insulation or valuables
If you keep decorations or family keepsakes in the attic, cover them with sheets or plastic. Cleaning can stir fine dust that settles on stored items.
Step 8: The Day Before Cleaning – Final Walkthrough
A day before your appointment, do a quick inspection.
Check every vent
Make sure every vent is visible, accessible, and uncovered. Don’t assume the crew will move heavy furniture.
Replace your air filter
If your filter is old, change it. It helps the technician see the system’s airflow more clearly during the job and keeps dust from re-circulating later.
Communicate any concerns
Write down any special notes, like hidden vents behind furniture or rooms that need extra attention. Have that list ready when the team arrives.
Prepare for noise
If you work from home, plan calls around the cleaning time. The equipment is loud, and you won’t want to talk over it.
Step 9: When the Technicians Arrive
You’ve done the prep. Now it’s go-time.
Walk through your home together
Show the team where vents, returns, and the furnace are located. If certain rooms have pets or delicate items, point those out.
Ask about timing
Most cleanings take two to four hours, depending on house size. Confirm this so you can plan errands or activities while they work.
Stay available
It’s fine to step out for a bit, but stay reachable by phone. The crew might have quick questions about access or vent placement.
Let them handle the rest
Once the process starts, relax. The pros will handle the heavy lifting. You’ll hear vacuum noise and air bursts; that’s normal. It means they’re dislodging built-up dust.
Step 10: After the Cleaning – Quick Home Reset
When the technicians pack up, take a few minutes to reset your home.
Check vents
Look inside each vent to make sure no debris or tools were left behind. They should look visibly cleaner.
Dust nearby surfaces
Even with professional equipment, a small amount of dust may settle. Wipe surfaces and tables near vents.
Open windows
Fresh air helps circulate the new, clean airflow through your house. Open a few windows for 20 to 30 minutes.
Replace or clean vent covers
If you removed vent covers for access, wash and dry them before reinstalling.
Turn the system back on
Once the team gives you the green light, turn your HVAC system back on. Enjoy that clean, crisp air!
Long-Term Maintenance Tips to Keep Your Ducts Clean
You’ve done the hard part. Now keep it clean as long as possible.
Change filters regularly
Most homes should replace filters every one to three months. Dirty filters clog fast and undo all that cleaning work.
Keep registers clear
Avoid blocking vents with rugs, curtains, or furniture. Airflow matters more than you think.
Control indoor dust
Vacuum carpets weekly. Wipe surfaces often. The cleaner your rooms, the less dust ends up in ducts.
Schedule checkups
Get your ducts inspected every few years. If you notice strange odors, allergy flare-ups, or visible dust around vents, call for service sooner.
Watch humidity
Too much moisture can cause mold in ducts. Use a dehumidifier in damp basements or bathrooms.
Mistakes to Avoid When Cleaning Air Ducts
Let’s quickly cover what not to do before your next duct cleaning.
- Don’t skip prep. Technicians can’t clean what they can’t reach.
- Don’t leave pets roaming. Open doors and loud tools can scare or endanger them.
- Don’t forget about small vents. Bathrooms, closets, and hallways count too.
- Don’t assume “light dust” means it’s clean. You can’t see the buildup deep inside the ducts.
- Don’t use air fresheners right after cleaning. Let your system run naturally for a few days first.
Hire Delta Clean Air For Professional Air Duct Cleaning Services
Are you planning to hire HVAC contractors for ductwork cleaning services? Delta Clean Air is the right choice. Our team not only cleans the ducts but also prepares your home for cleaning to avoid mess and hazards. They have professional tools and equipment to deeply clean the ductwork, leaving no residue behind.
Call us today and get a free quote.