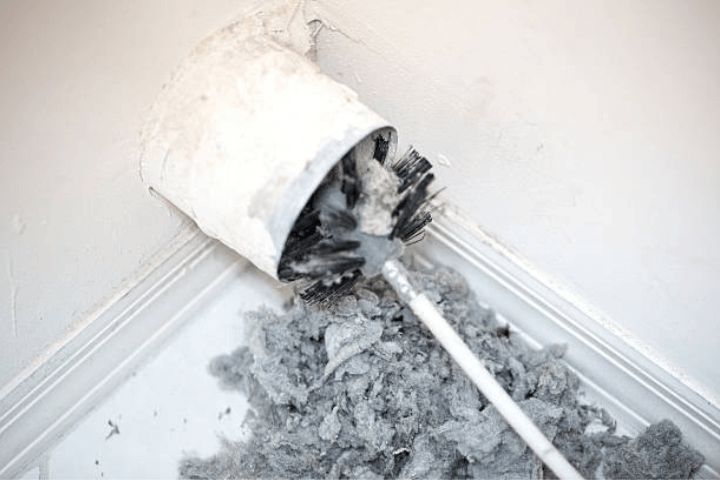
A brush kit costs about thirty dollars and takes an afternoon. A professional visit costs more and takes an hour. The question is not which one is cheaper, because the answer to that is obvious. The question is whether the cheap one reaches the part of the dryer vent where the trouble builds, and for a lot of Boston homes, it does not.
The Lint Trap Catches Only Part of What Your Dryer Sheds
Most people clean the lint screen after every load and believe the job is finished. That screen catches a share of the fiber coming off your clothes. The rest travels past it, into the duct, and settles along the walls of the pipe on its way out of the house.
Lint is fabric. Fabric burns. Once enough of it lines the duct, the airflow drops, the dryer runs hotter to compensate, and heat plus a flammable coating inside a closed pipe is how the trouble begins. The National Fire Protection Association puts the number at roughly 13,820 home fires involving clothes dryers each year, with about $233 million in property damage. Failure to clean is the single leading cause behind those fires, sitting at around a third of them, and dust, fiber, or lint was the first thing to catch in 27 percent of the cases.
Those fires are the preventable kind. That is what makes this worth reading rather than skimming.
What Your Dryer Tells You Before Anything Goes Wrong
The machine gives you a warning long before the fire department does. You will notice one of these first:
- A load of towels needs two cycles, whereas it used to need one.
- The dryer body and the laundry room feel hot after a run.
- Clothes come out with a burnt or musty smell.
- The outside vent flap barely opens while the dryer runs.
- The cycle finishes, but the clothes are still damp inside.
Each of those points to airflow, and airflow points to the duct. Waiting for a second symptom is how people end up paying for a repair instead of a cleaning.
How Far a Hardware Store Brush Kit Reaches into a Dryer Vent
This is where the honest answer lives. A rod-and-brush kit works, and it works within limits.
The kit handles a short, straight run. If your dryer sits against an exterior wall and the duct exits through that wall within a few feet, you can pull the machine out, disconnect the duct, and brush it clean. That covers a certain kind of house, and if that is your house, the DIY route is a fair choice.
The limits show up fast in everything else:
- Length. Rod sets sold in stores usually reach 12 to 20 feet. A dryer vent running from a basement to a side wall, or from a second-floor closet to a roof cap, passes that easily.
- Bends. Every elbow slows the lint down and gives it a place to pack. The brush loses force at each turn, and a flexible rod pushed through three elbows starts to twist instead of scrub. Lint also collects at the bends first, so the exact spots you cannot reach are the spots that need the work.
- The far end. A brush pushed from the dryer side sweeps debris forward. Without a vacuum pulling from the other end, a portion of what you loosened just relocates deeper into the duct or piles up at the exterior cap.
- Sight. You are working blind. Something can be crushed, disconnected, or full of a bird’s nest, and the brush will pass over the problem without telling you.
What Professional Dryer Vent Cleaning Adds to the Job
The gap is equipment plus eyes, and both matter.
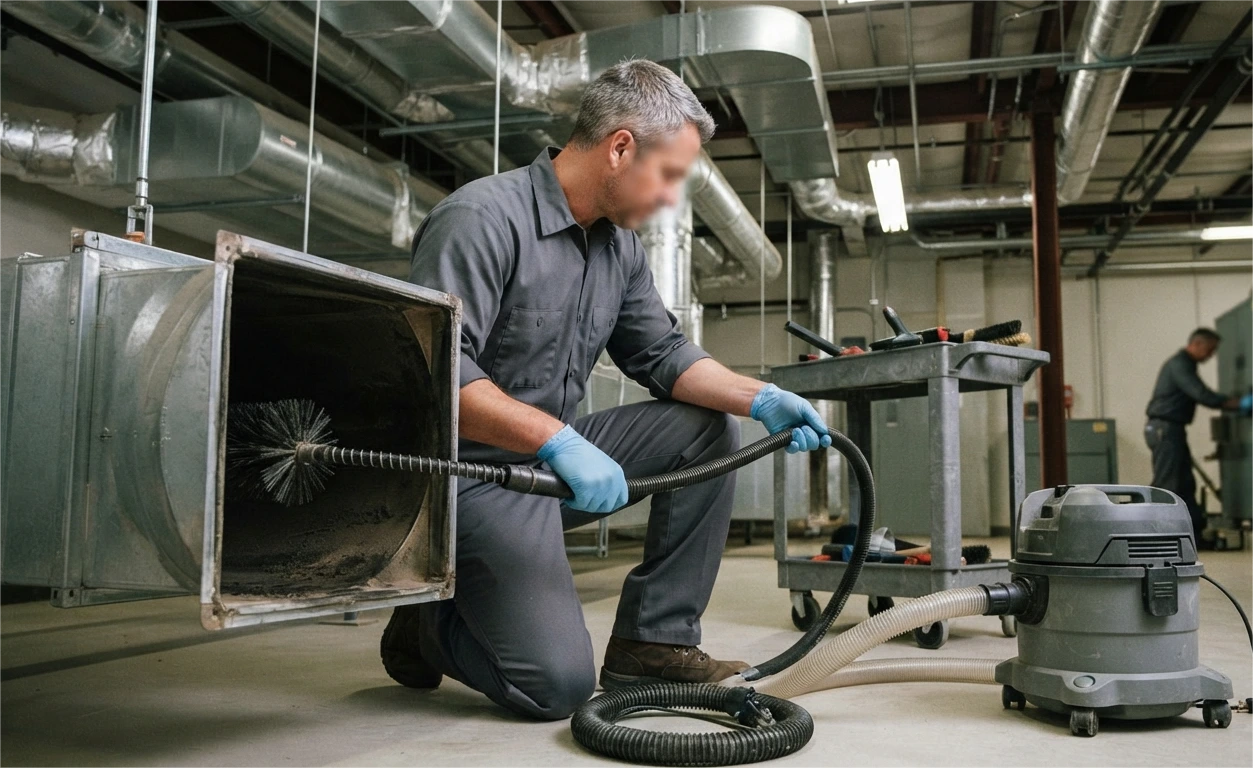
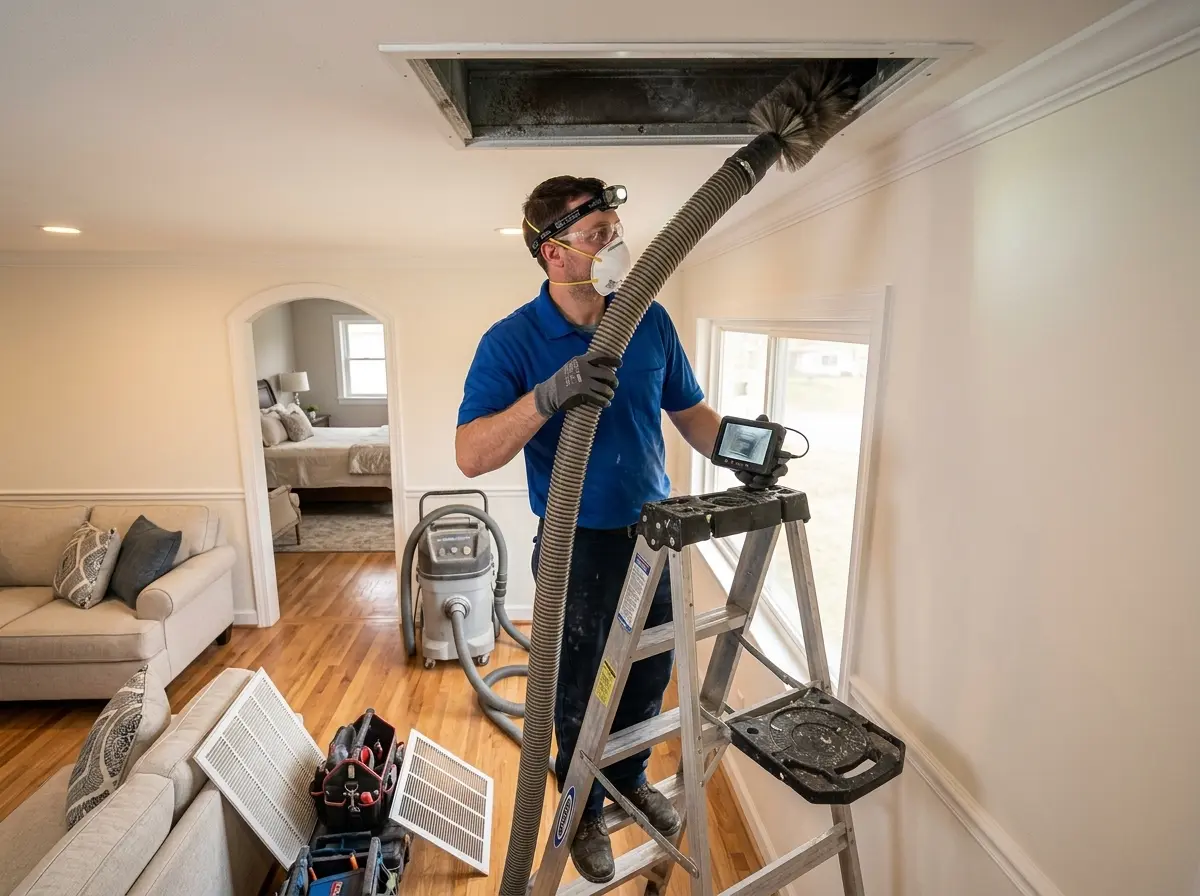
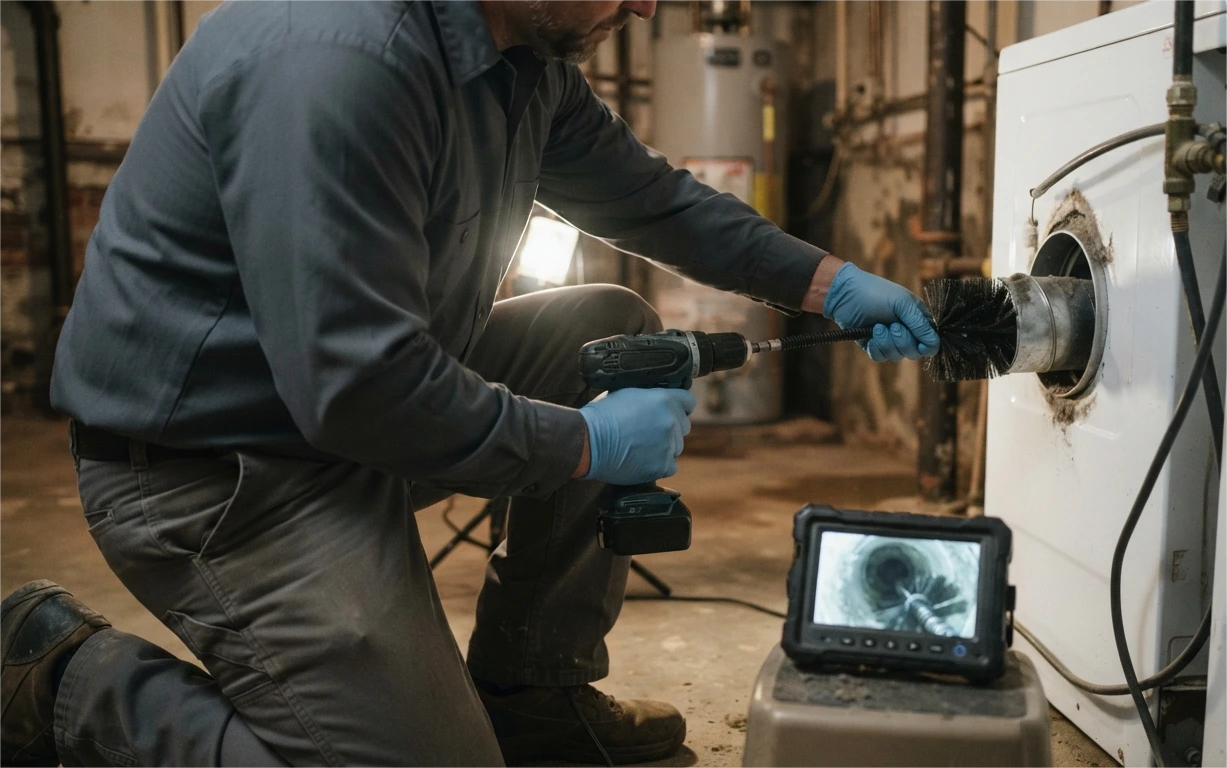
- Negative air. A professional connects a vacuum at one end and works the duct from the other, so the lint leaves the pipe rather than moving within it.
- Rotary brushes on powered rods. These spin as they travel, which is what takes packed lint off the duct wall and gets around elbows a hand-pushed rod cannot manage.
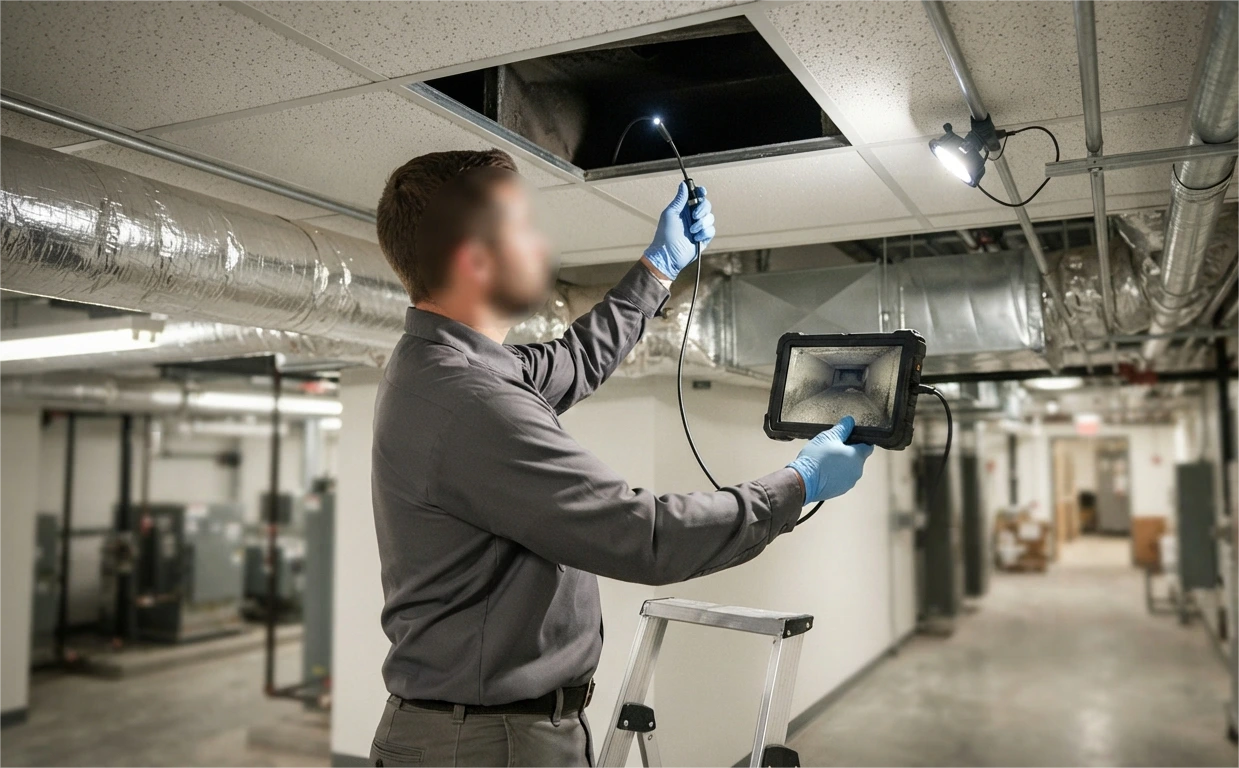
- Camera inspection. The duct gets looked at. A crushed section behind the dryer, a joint that came apart inside a wall cavity, or a nest behind the exterior cap all show up on a screen instead of staying hidden.
- Airflow measurement. A reading before and after tells you whether the cleaning did anything, which turns the visit into a result rather than a promise.
- The full run, both ends. Work happens from the dryer connection and from the exterior termination, so the whole length gets covered.
- Repairs identified on the spot. Foil duct, a bad transition, a missing cap, or a screw driven through the pipe gets flagged while someone is standing there.
That last one carries weight. Plenty of homes have a dryer vent clog that returns three months after a cleaning, and the reason is almost always a physical fault in the duct that nobody looked for.
The Boston Homes Where DIY Cleaning Stops Working
Housing stock decides this more than skill does, and Boston’s stock leans one way.
Triple deckers and multi-family houses. A dryer on the second or third floor sends its duct on a long vertical journey to the roof or up a side wall. Nobody is brushing that from the laundry closet, and roof access is its own risk.
Basement laundry rooms. The machine sits low, and the duct runs across the ceiling to a rim joist or a side wall, picking up length and elbows along the way.
Modern closet installations. New construction keeps moving laundry away from exterior walls and into hallways, bathrooms, and bedroom closets. The convenience costs you duct length and bends, which is exactly the combination the fire data points at.
Condos and apartments. Shared and concealed ducts change the picture completely, including who is allowed to touch them and who pays. Our guide on dryer vent cleaning for condos and apartments covers the access and responsibility side of that.
Roof terminations. A cap on a pitched roof in a New England winter is not a DIY project by any measure worth defending.
There is a seasonal piece as well. Dryer fires climb from November through April, since people wash and dry heavier clothing and more of it. Boston runs a long version of that season.
Cost, Time, and Risk Side by Side
Set the two options next to each other, and the picture gets clear.
Doing it yourself:
- Kit cost of roughly $25 to $50, reusable.
- Two to three hours the first time, including moving the machine.
- Works on short straight runs against an exterior wall.
- No inspection, no airflow reading, no view of the duct.
- You carry the risk of duct damage and of missing a fault.
Hiring a professional:
- One visit, usually under an hour.
- Full run cleaned from both ends with vacuum and rotary equipment.
- Camera inspection and airflow verification included.
- Duct faults are identified before they turn into a clog or a fire.
- Documentation you can hand to an insurer or a buyer.
The money argument breaks down when you count the second visit. A DIY attempt that leaves packed lint at the elbows means the dryer still runs long, the electric bill stays high, the machine wears faster, and you call someone anyway. Now you have paid twice.
What Handling It Wrong Costs You Inside the Duct
Some damage from DIY work is quiet, and that is what makes it expensive.
Foil accordion duct crushes when a machine gets pushed back into place, and once it kinks, lint packs at that fold every single load. Rigid pipe joints separate when a rod catches an edge, and a duct that comes apart inside a wall starts venting hot, wet, lint-carrying air straight into the framing. That means moisture in the cavity, and moisture in a closed cavity means mold you will not smell for a year.
Some people run a shop vacuum from the exterior side without a proper duct connection and pull the debris into the wall instead of into the bag. Others reconnect the duct with screws, which is the one thing you should avoid, since every screw point inside the pipe becomes a hook that catches lint forever. Foil tape holds those joints for a reason.
None of that shows on the outside. The dryer keeps running, and the problem keeps growing behind the drywall.
What You Should Handle Yourself Between Professional Visits
Hiring someone once a year does not remove your part of the job, and your part is short.
- Clear the lint screen after every load, since that is the cheapest fire prevention available.
- Wash the screen with soap and water a few times a year, because dryer sheets leave a film that blocks air.
- Check that the exterior flap opens while the dryer runs and closes when it stops.
- Look behind the machine for a crushed or kinked duct after you move it.
- Keep the space around the dryer clear of laundry piles and cleaning products.
- Stay with the house while the dryer runs rather than starting a load on your way out.
That routine keeps the system honest between cleanings. The annual visit handles the part of the dryer vent you cannot see or reach, and the two work together rather than replacing each other.
Book a Dryer Vent Cleaning Before Winter Loads Pile Up
The homes that burn are not the ones with careless owners. They belong to people who cleaned the lint screen every time, who never smelled anything wrong, and who had no way of knowing that eighteen feet of duct behind the wall had closed down to the width of a thumb. Nothing in the laundry room tells you that. The clothes just take a bit longer, and the bill creeps up, and one evening it stops being a laundry problem.
Delta Clean Air has cleaned ducts and vents across Boston and Massachusetts for 20 years. Our certified technicians work the full run from both ends with vacuum and rotary equipment, inspect the duct with a camera, verify airflow before and after, and tell you plainly if the duct itself needs work rather than another cleaning. We also handle residential dryer vent cleaning on a yearly schedule so it stops being something you remember to arrange. Contact us for a free quote and find out what is sitting inside your duct before the cold months push your dryer harder.